|
| |||||
|
| |||||
Chapter 6 - How to Install MUI
In this chapter we will Install and set-up MUI.
If you have quit WinUAE after the fourth chapter, then re-launch the program,
left click the config you made, click the Load button and click OK to start
emulation.
1. Double Click Programs.
2. Double Click on MUI directory.
3. Double Click Install-MUI.
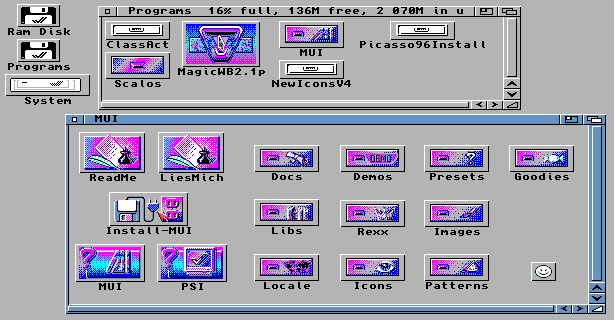
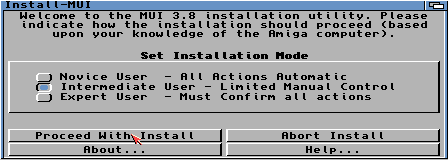
4. Make sure Intermediate User is selected and then Click ‘Proceed With Install.’
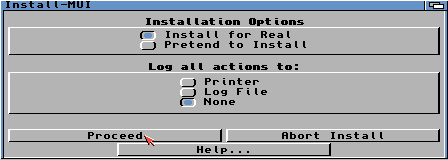
5. Make sure Install for Real and None is selected and then Click ‘Proceed’.
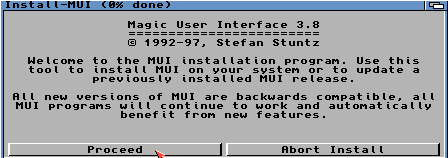
6. Click ‘Proceed’.
7. Click ‘Show Drives’ button and click on DH0: System:
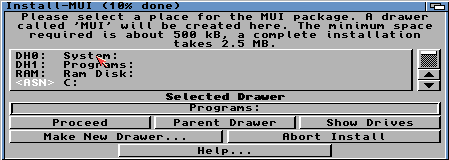
8. Click ‘Proceed’.
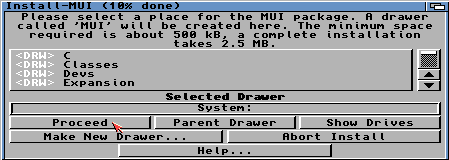
9. Click ‘Proceed’.

10. Click ‘Proceed’.
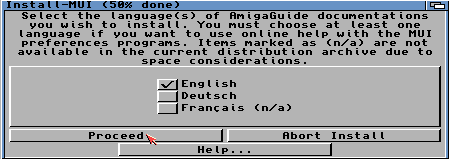
11. Click No as the examples are not needed. (click Yes if you want the examples)
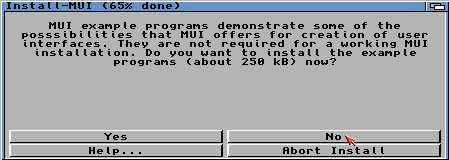
12. Click ‘Proceed’.
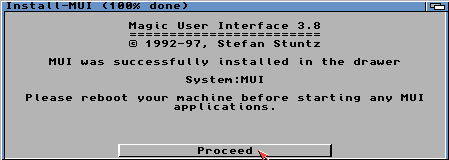
13. We have now Installed MUI. Now restart the Amiga by holding down
the 3 keys to finish setup. CTRL + INSERT + HOME, or in newer versions of WinUAE
press CTRL + LEFT WINDOW + RIGHT WINDOW keys.
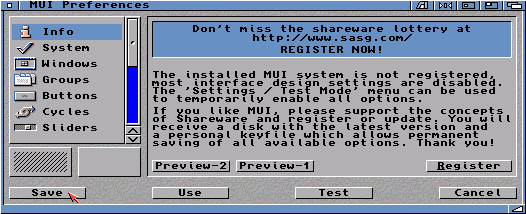
14. Double Click System, double click on the MUI directory and double
click on the MUI Icon.
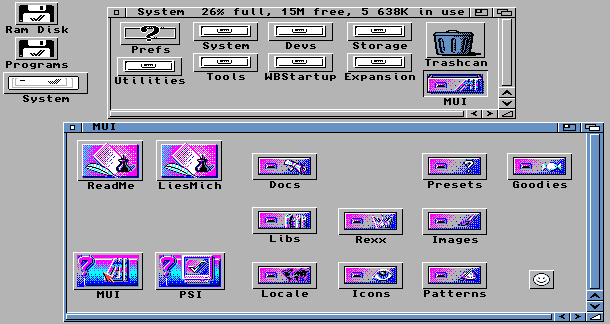
15. Next go to the top of the screen and hold your right mouse button
down.
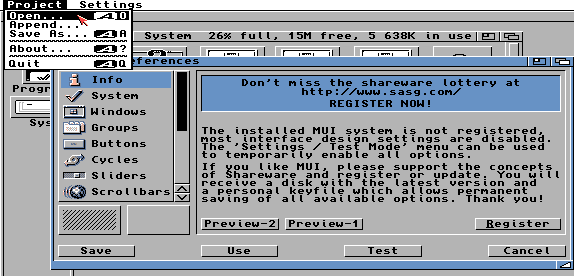
16. Hover you mouse over Project and Open.... When Open... is highlighted
let go of right mouse button.
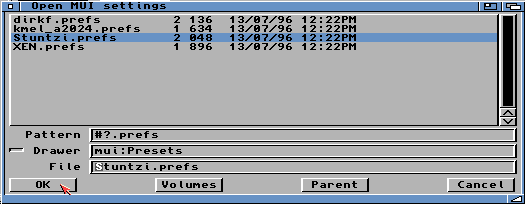
17. Click Stuntzi.prefs and click ok.
18. Click Save.
|
|
All chapters only on this page are Copyright (c) Paul, The Green Amiga Alien and should not be copied, altered or uploaded to another site without the authors permission. Web site design Copyright (c) CPC464.