|
|
|
|
|
|
|
|
|
|
|
|
|
|
|
|
|
|
|
|
|
|
|
|
|
|
|
|
Chapter 5 - How to Install Picasso96
In this chapter we will setup and install Picasso96.
If you have quit WinUAE after the fourth chapter, then re-launch the program,
left click the config you made, click the Load button and click OK to start
emulation.
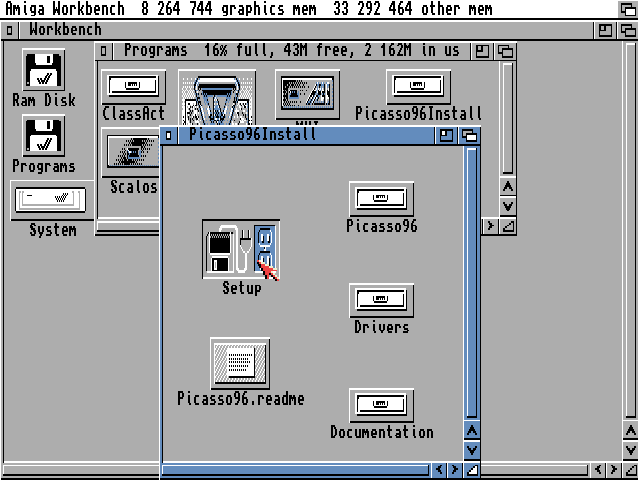
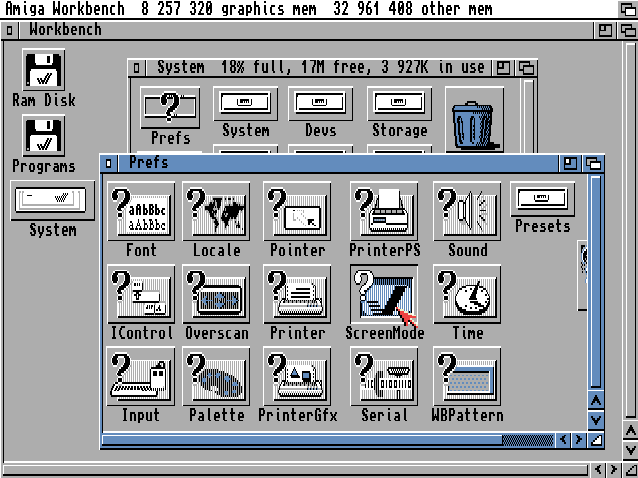
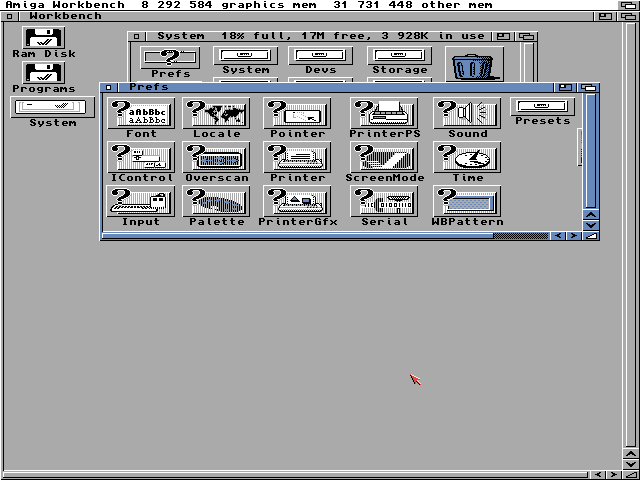
1. Double click Programs on the workbench screen.
2. Double click System, then Double click Picasso96Install
3. Double click Setup. The Installation program will open.
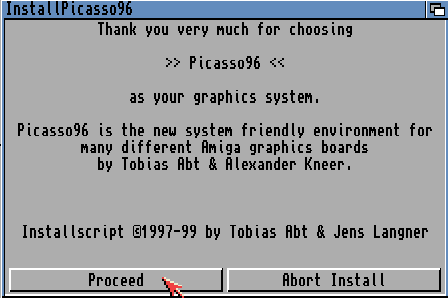
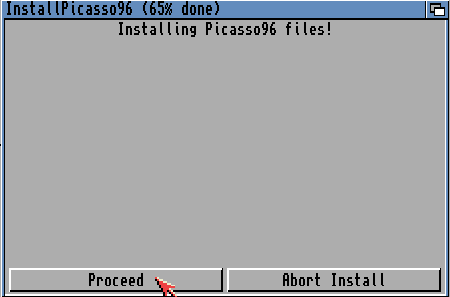
4. Click Proceed.
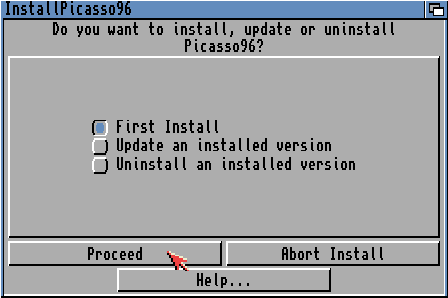
5. Click Proceed. (Make sure you leave it set to First Install)
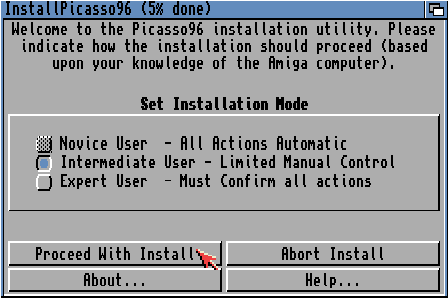
6. Click Proceed With Install (Make sure you leave it set to Intermediate User)
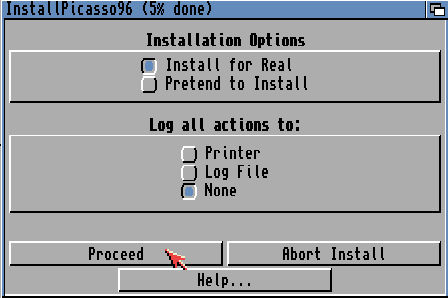
7. Click Proceed. (Make sure you leave it set to Install for Real and None)
8. Click Proceed another 4 times.
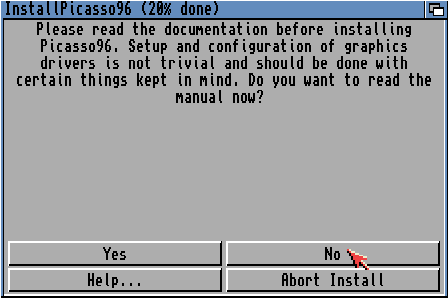
9. Click on ‘No’ (you can read the docs later)
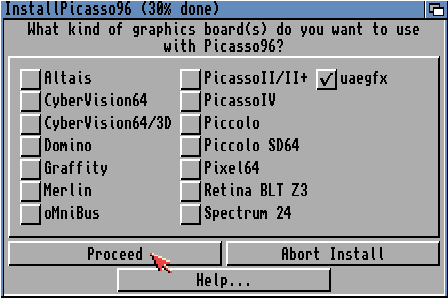
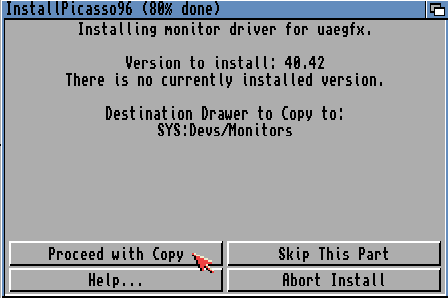
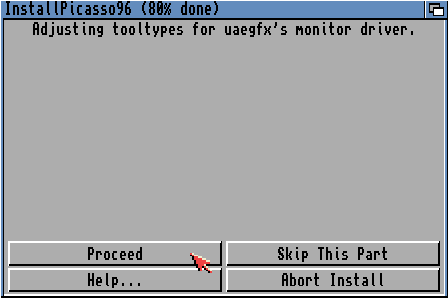
10. Click Proceed. (Make sure you leave it only set to uaegfx - Do not select any of the other settings unless you are using real Amiga hardware)
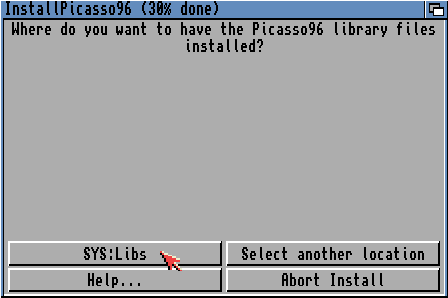
11. Click on SYS:Libs
12. Click on SYS:Devs/Monitors

13. Click on SYS:Prefs
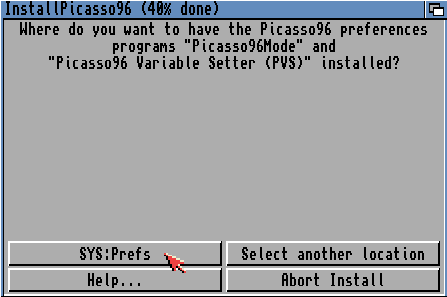
14. Click on SYS:Devs/Picasso96Settings
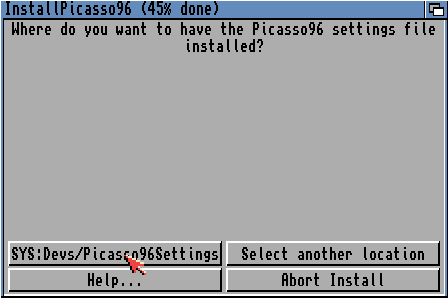
15. Click on Select another location
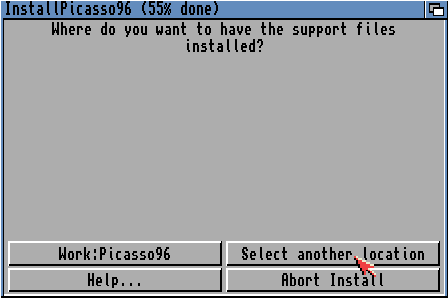
16. Left click on DH0: System:
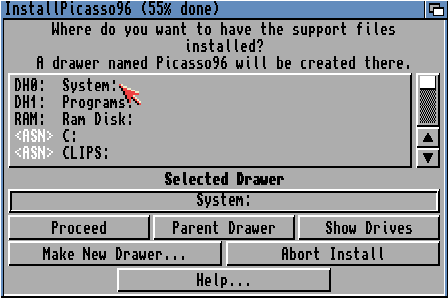
17. Left click on
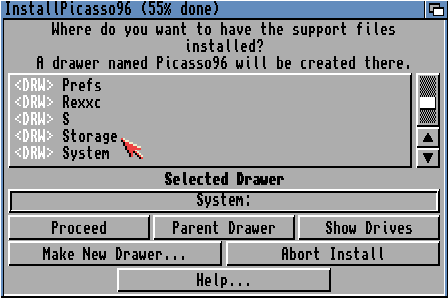
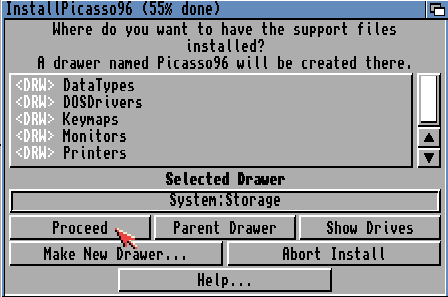
18. Then Click Proceed.
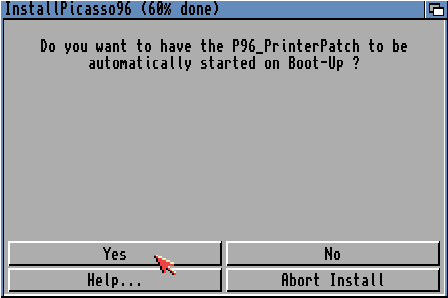
19. Click Yes.

20. Click Yes.
21. Click Yes.
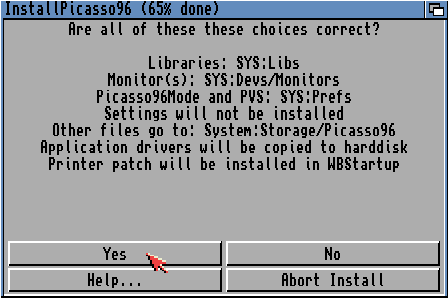
22. Click Proceed.
23. Click Proceed
24. Click Proceed with Copy
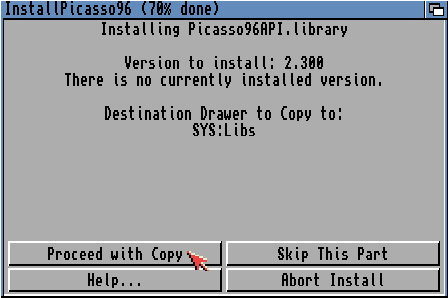
25. Click Proceed with Copy
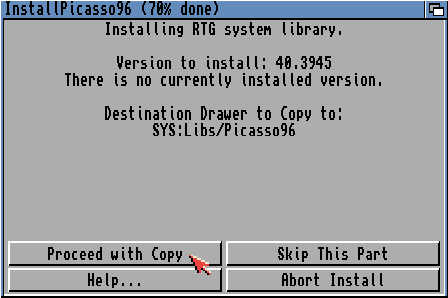
26. Click Proceed with Copy
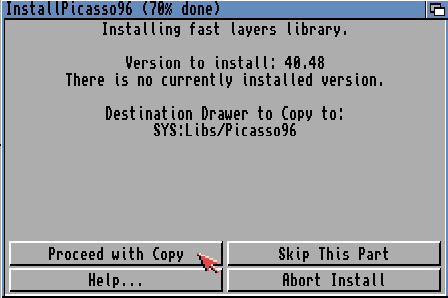
27. Click Proceed with Copy
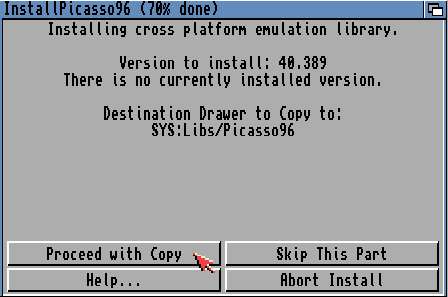
28. Click Proceed with Copy
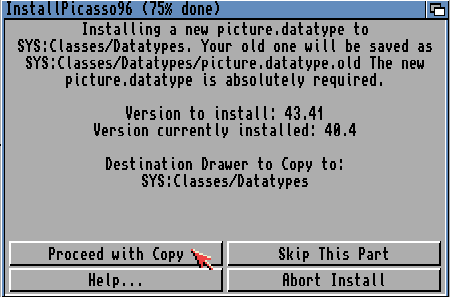
29. Click Proceed with Copy

30. Click Proceed with Copy
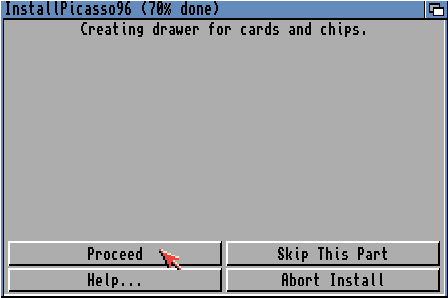
31. Click Proceed
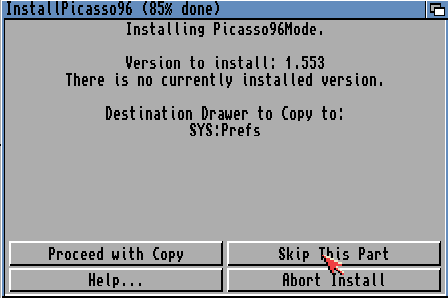
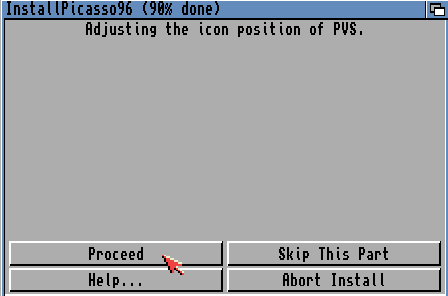
32. Click Skip This Part (Picasso96Mode Pref is only needed for real Amigas with graphics cards)
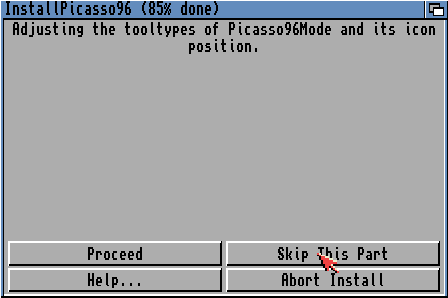
33. Click Skip This Part
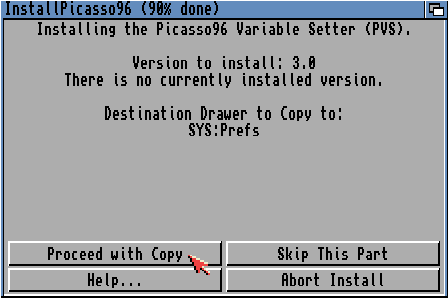
34. Click Proceed with Copy
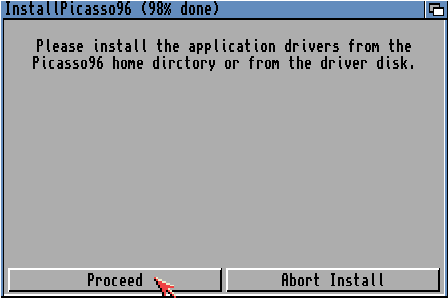
35. Click Proceed
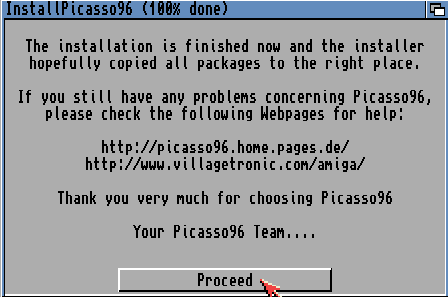
36. Click Proceed
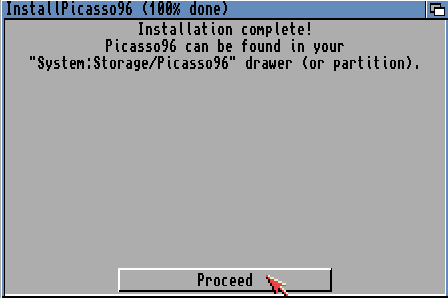
37. Click Proceed
38. Click Proceed
39. Now restart the Amiga by holding down the 3 keys
CTRL + INSERT + HOME
Or in newer versions of WinUAE press CTRL + LEFT WINDOW + RIGHT WINDOW keys
40. Double click
System, double click
Prefs and then
ScreenMode
41. Scroll down and select uaegfx:640x480 16bit PC (or uaegfx:800x600
16bit PC)
42. Move the Colors slider all the way to the right.
43. Click Save.
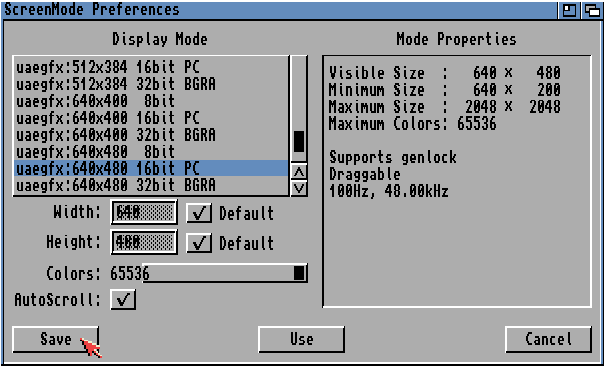
44. You should now have a sharper and better looking screen.
|
|
All chapters only on this page are Copyright (c) Paul, The Green Amiga Alien and should not be copied, altered or uploaded to another site without the authors permission. Web site design Copyright (c) CPC464.