|
| |||||
|
| |||||
Chapter 9 - Installing Scalos Workbench replacement
In this chapter we will install and set up Scalos step by step.
If you have quit WinUAE then re-launch the program, left click the config you
made, click the Load button and click OK to start emulation.
1. Double click Programs, double click on the Scalos
directory and then double click on Scalos-Install.english
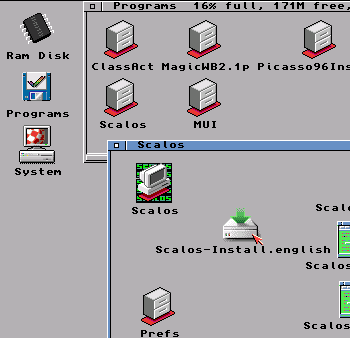
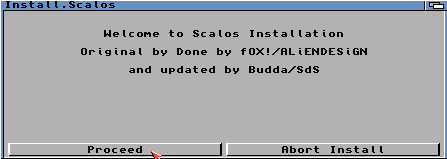
2. Click ‘Proceed’.
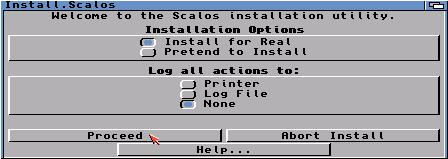
3. Make sure Install for Real and None are selected and then Click ‘Proceed’.
4. Click ‘Proceed’. (It should show SYS:Expansion/Scalos as selected drawer).
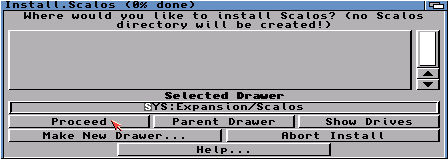
5. Click Show Drives button and then click DH0: System:
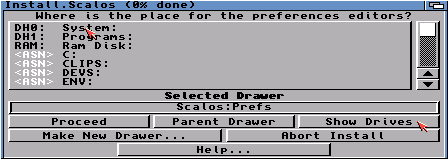
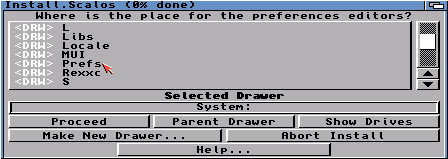
6. Click on
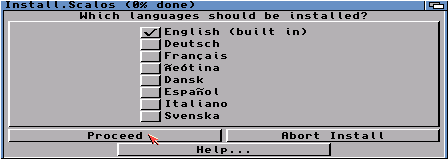
7. Click Proceed. (with English ticked, tick any of the other boxes if you speak that language)
8. Click Proceed. (Make sure MUI is selected)
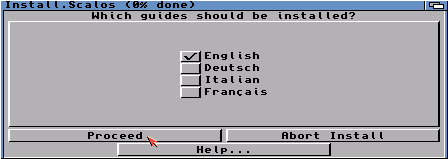
9. Click Proceed. (Make sure MUI is selected)
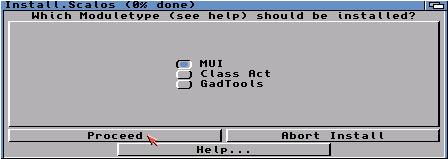
10. Click Yes.
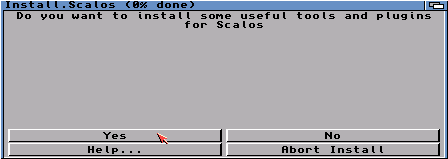
11. Click Yes.
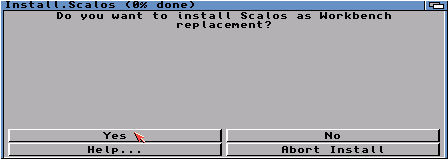
12. Click Proceed.
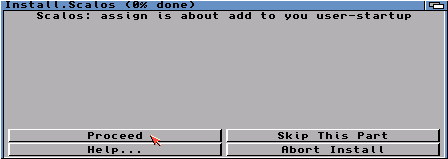
13. Click ALL Proceed with Copy buttons.
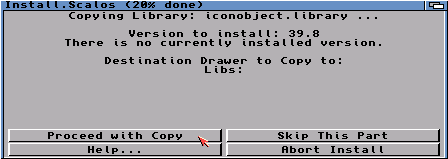
14. Click the next 2 Proceed buttons to end install.
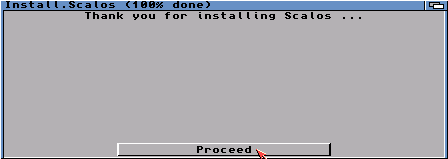
15. Now restart the Amiga by holding down the 3 keys to finish setup.
CTRL + INSERT + HOME, or in newer versions of WinUAE press CTRL + LEFT WINDOW +
RIGHT WINDOW keys.
16. When Scalos Workbench screen shows you will see a small window open.
Hold your left mouse button down on ![]() at the
bottom right corner, drag down and right until an outline of the window fits the
whole screen, and then let go of the left mouse button.
at the
bottom right corner, drag down and right until an outline of the window fits the
whole screen, and then let go of the left mouse button.
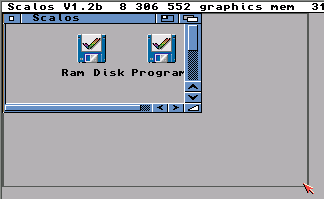
17. Next double click System, then double click the Prefs directory and double click Scalos Menu Icon (As you can see the icons are in a mess so I have drawn a yellow box showing where this icon is)
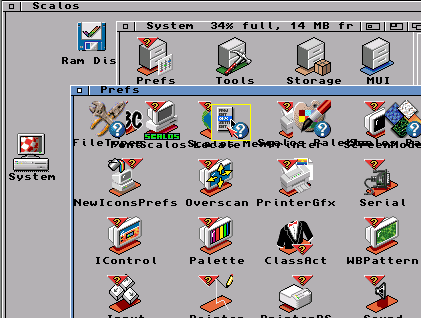
18. When Scalos Menu window opens, go to the top of the screen, hold your right mouse button down and hover your mouse over Project then Open... When Open... is highlighted let go of your right mouse button.
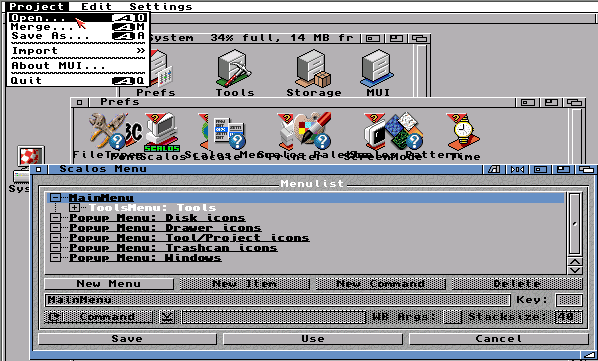
19. Left click on Scalos Drawer
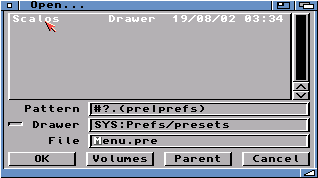
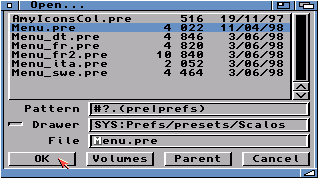
20. Click on Menu.pre to select and click on OK
21. Click Save.
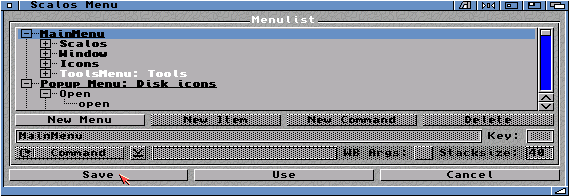
22. You will now have your normal right mouse menu back. So now clean
up all icons which need tidying and snapshot to save settings per window of
icons. See Chapter 3 if you need help.
23. Also remember to clean up and snapshot the Scalos Workbench desktop
window with the Ram Disk, Programs and System Icons.
24. For more information please read the documentation. Double click
System, then Expansion, Scalos and Scalos_eng.guide
Icons.
|
|
All chapters only on this page are Copyright (c) Paul, The Green Amiga Alien and should not be copied, altered or uploaded to another site without the authors permission. Web site design Copyright (c) CPC464.